Free Motion Friday -- Diamonds!
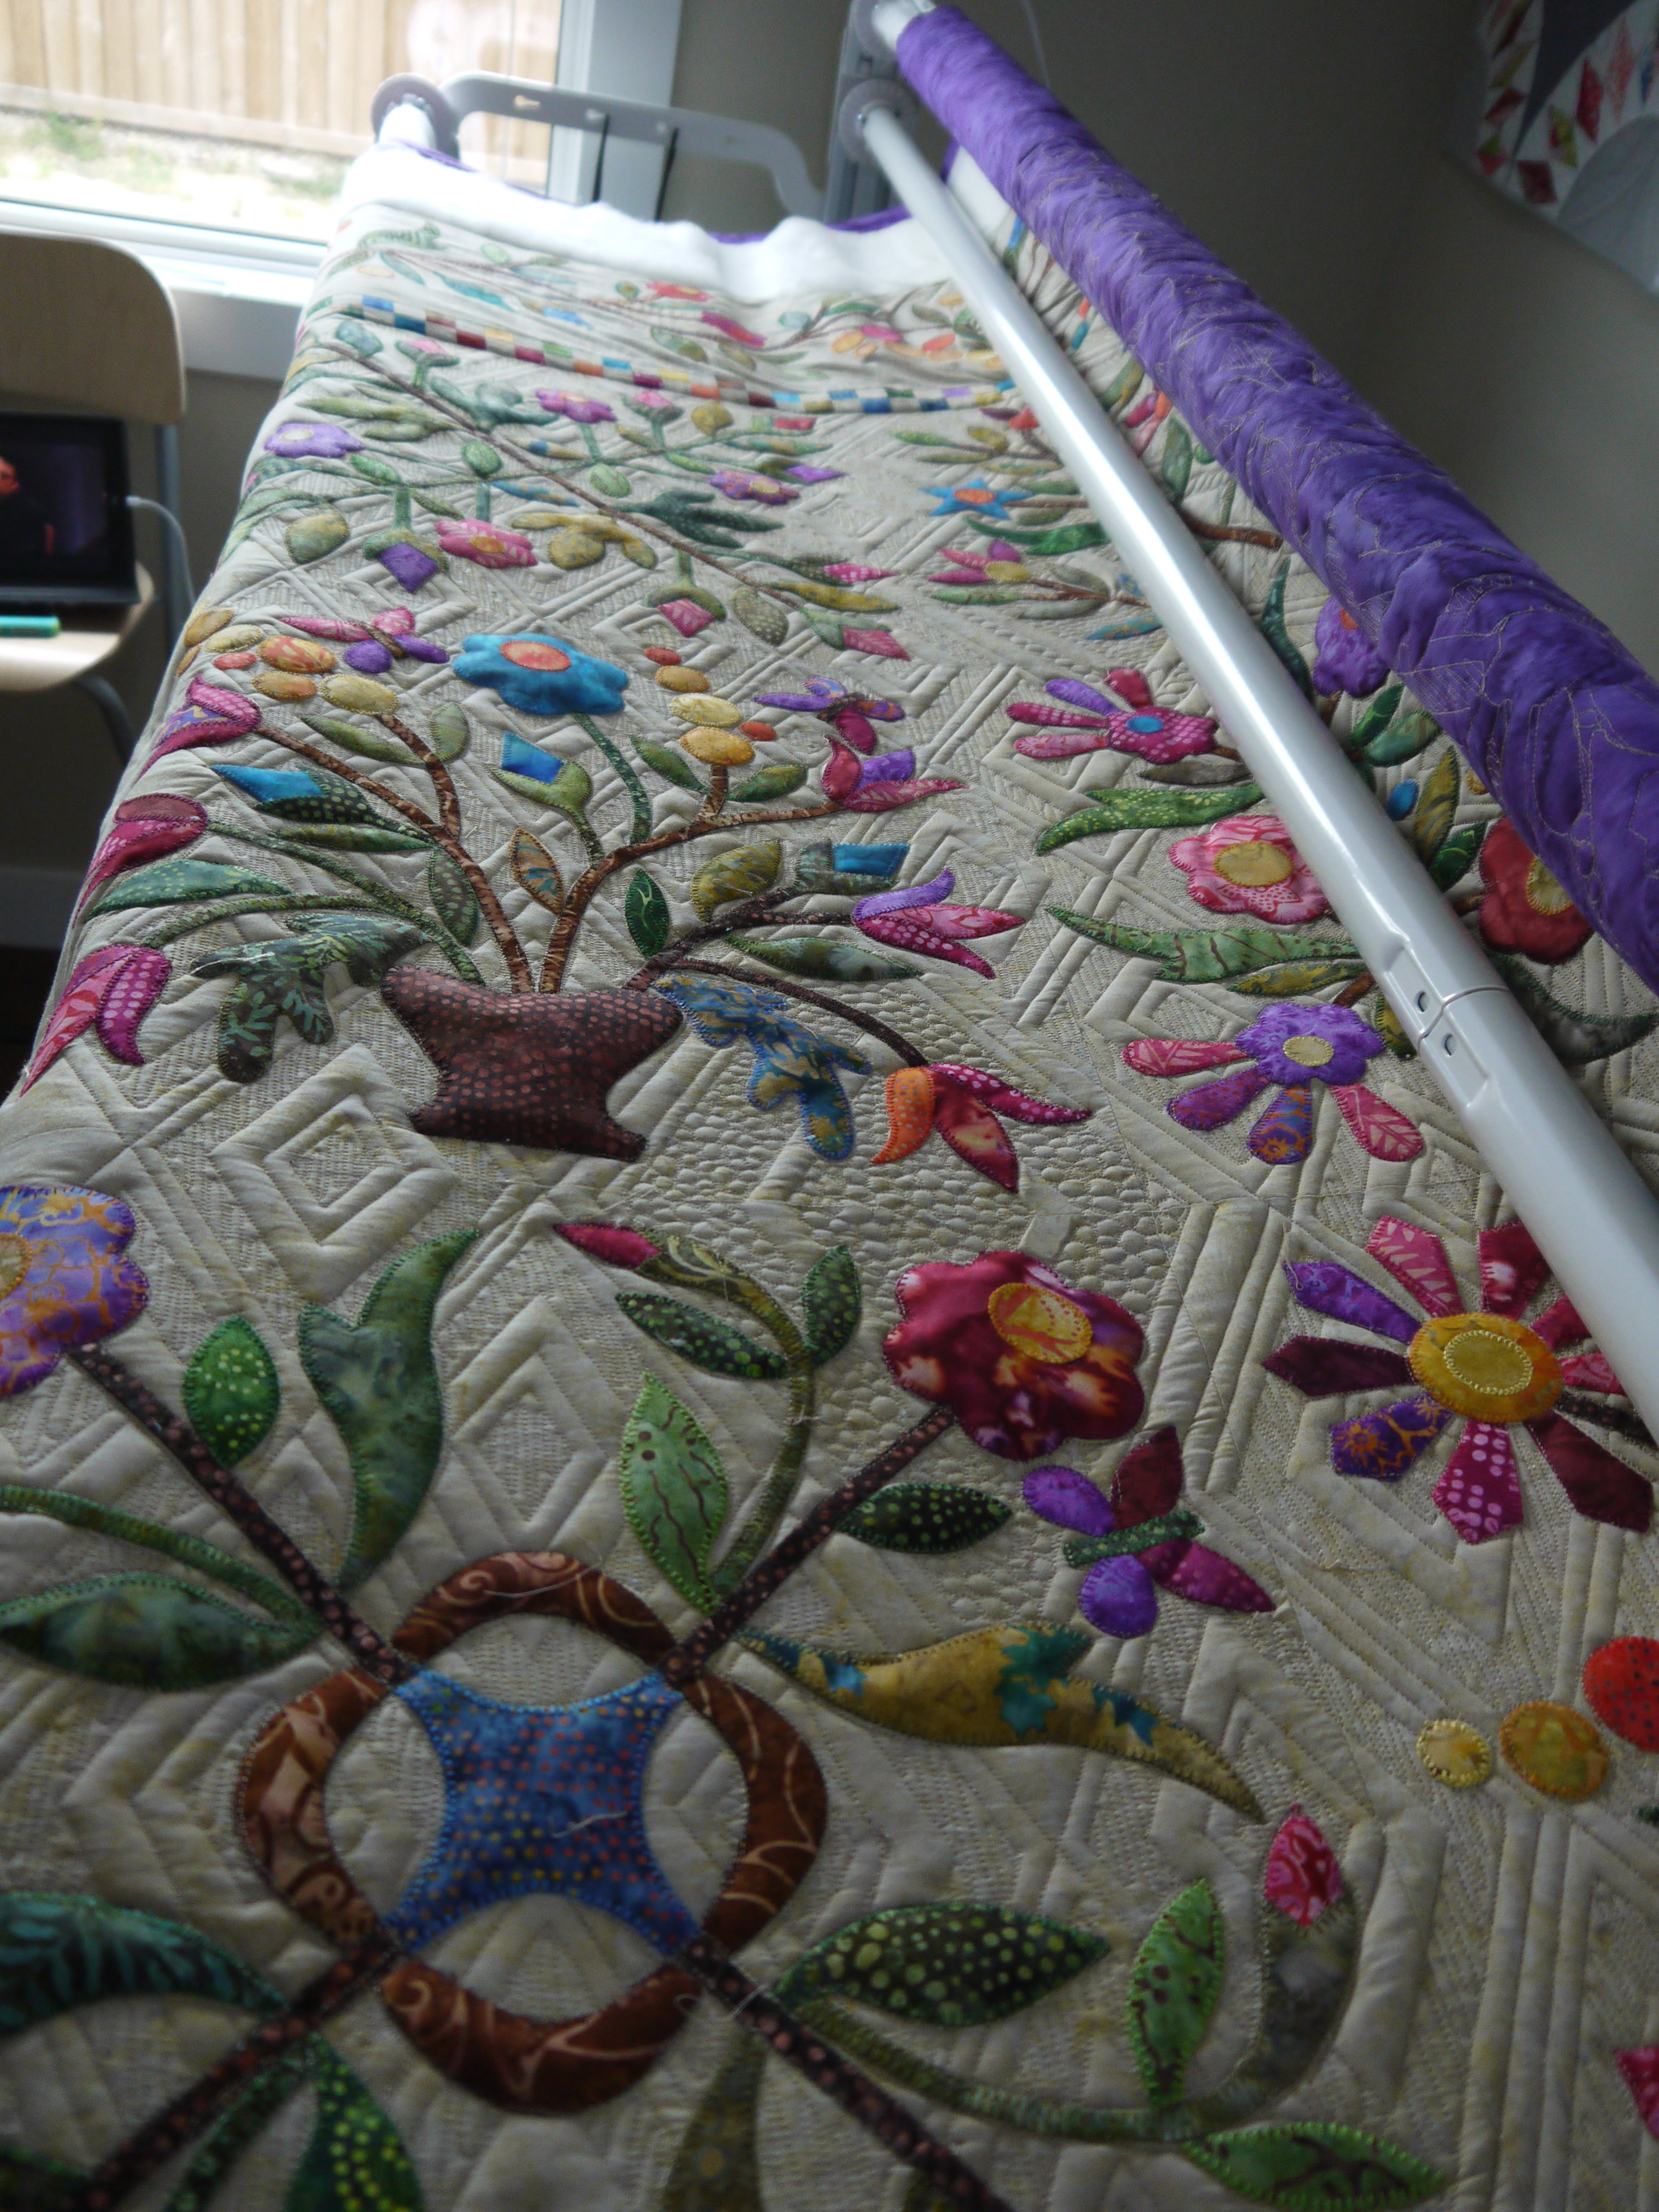
Recently I have been completely obsessed with quilting diamonds into my quilts. The quilt I've been doing for Debbie has it on it --
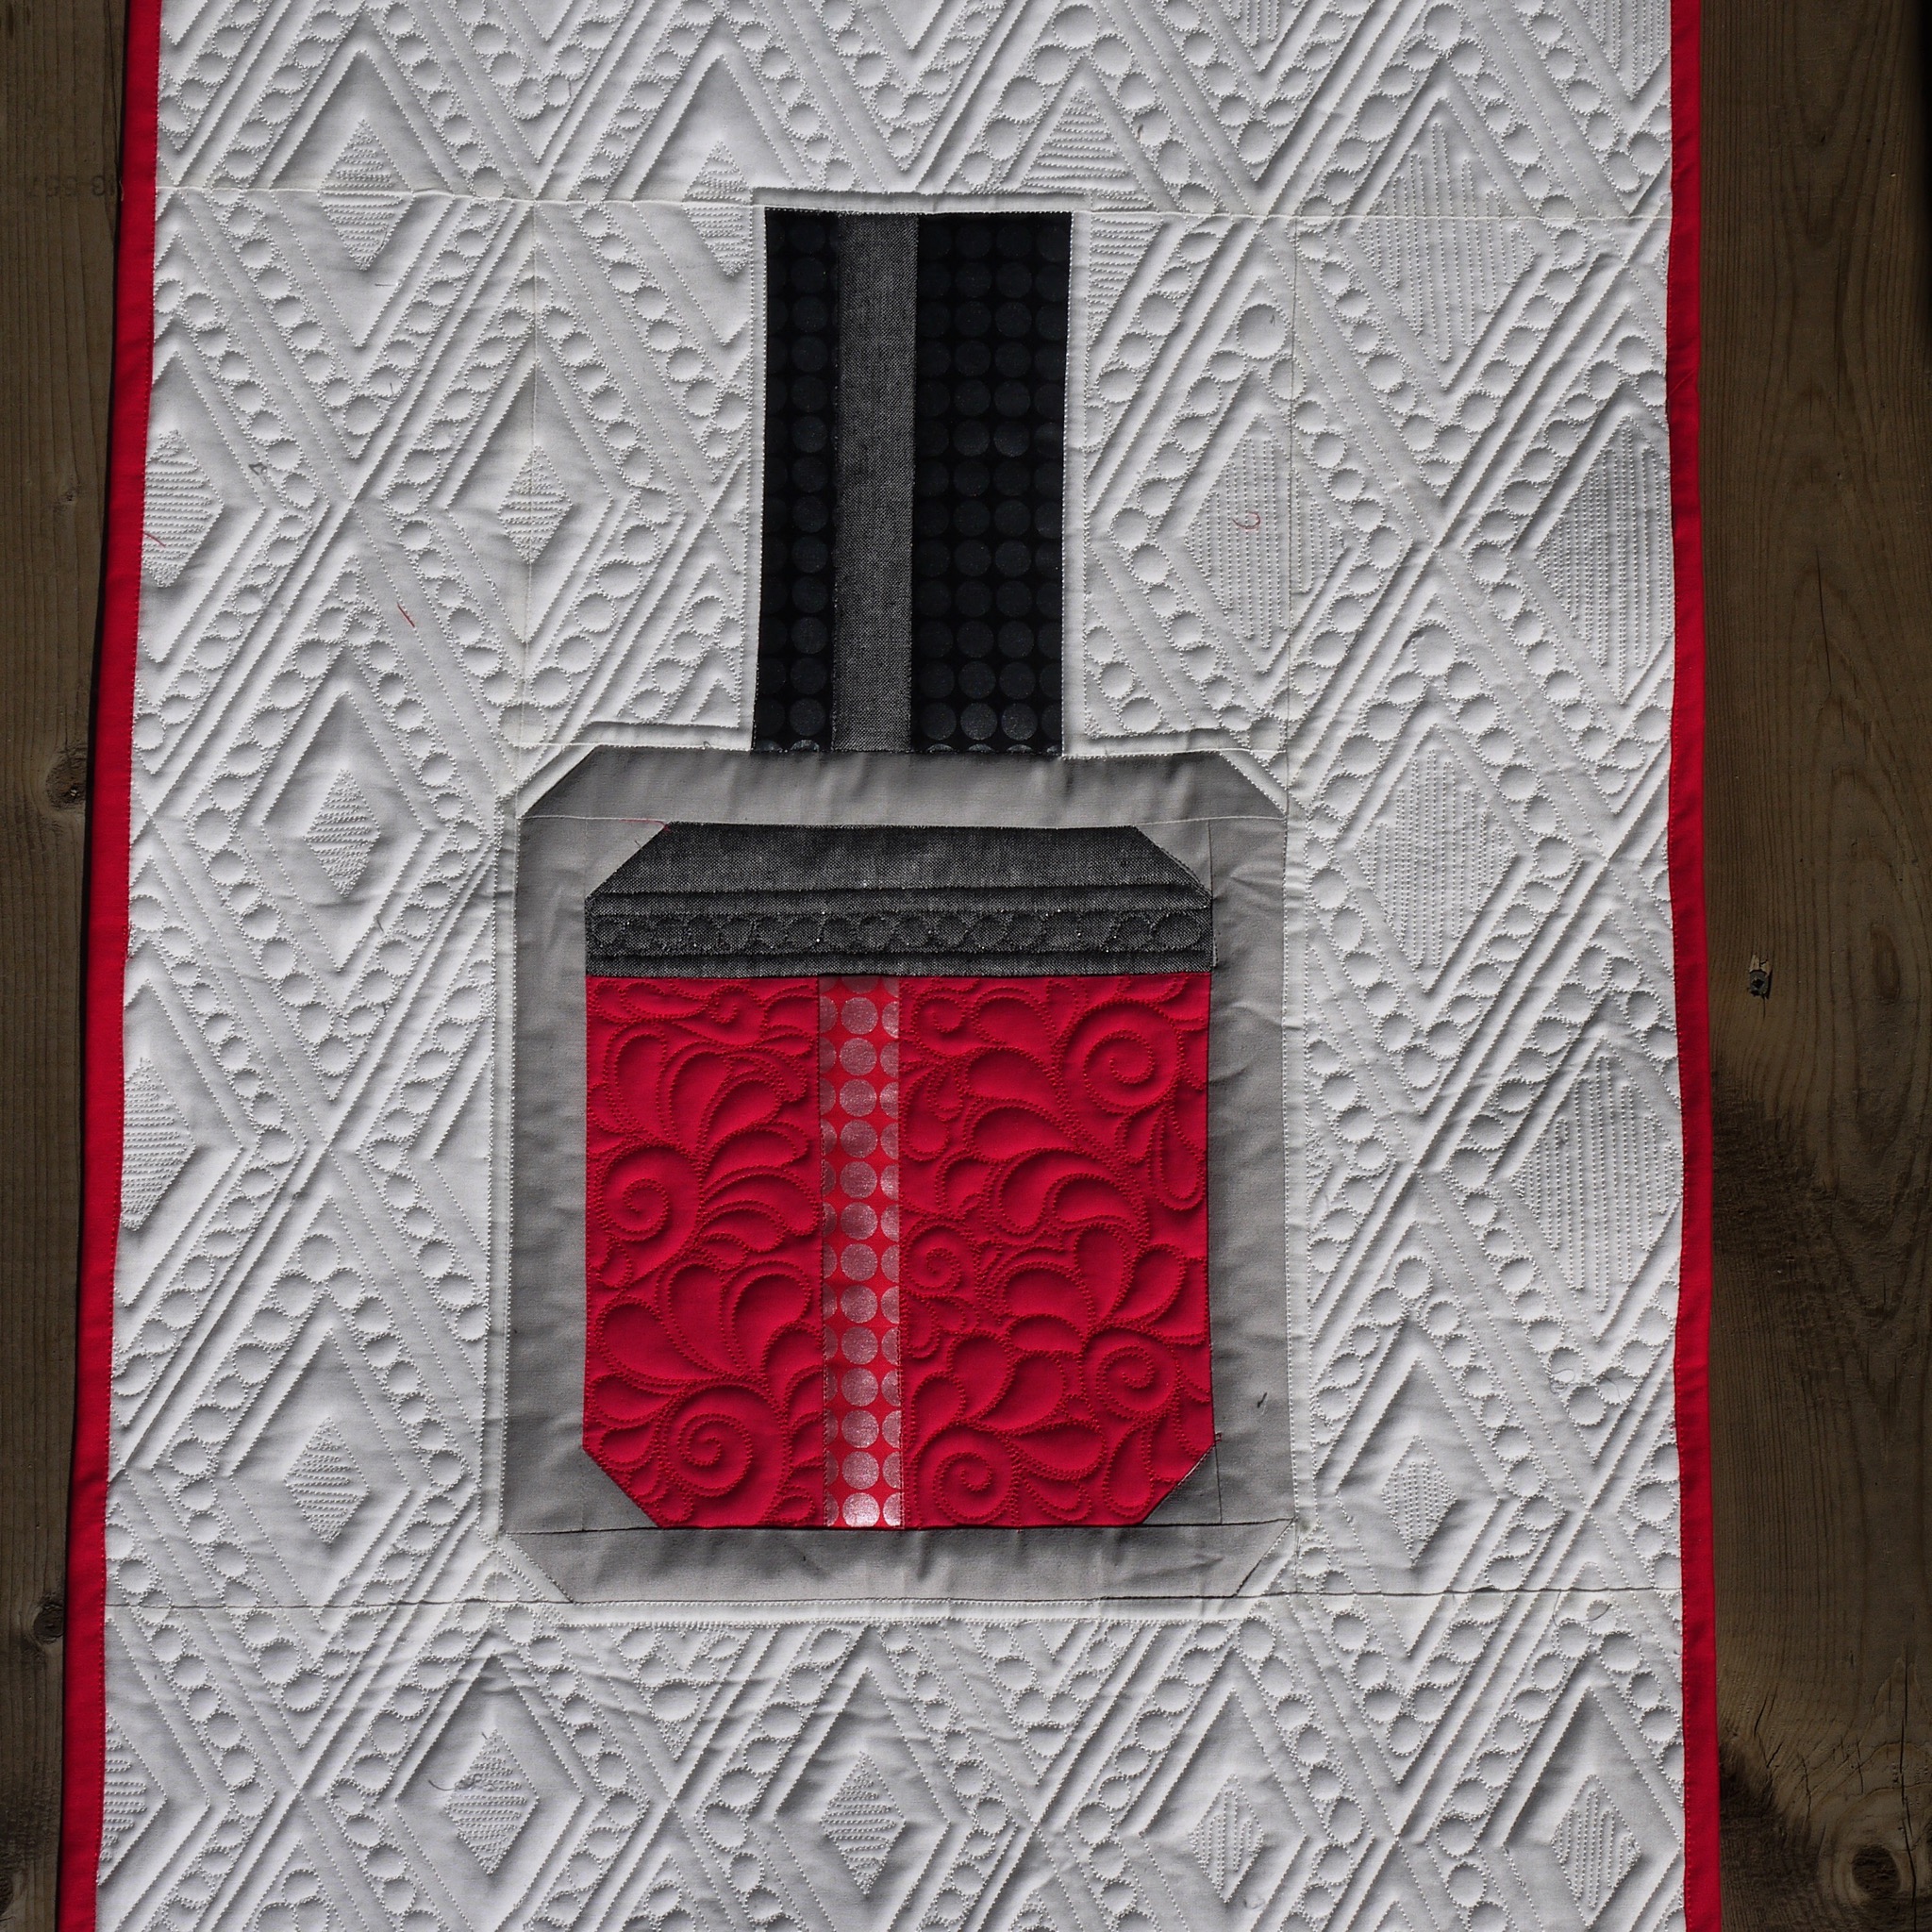
 Vicki's nail polish quilt has it,
The Laundry Basket quilt has it:
And my Road Trip Quilt has it.
 So pretty much, I'm completely obsessed.
And my favorite part, its actually really easy. A little time consuming, but not really even that bad. But it's easy to make look nice, and makes you look like a crazy awesome quilter.
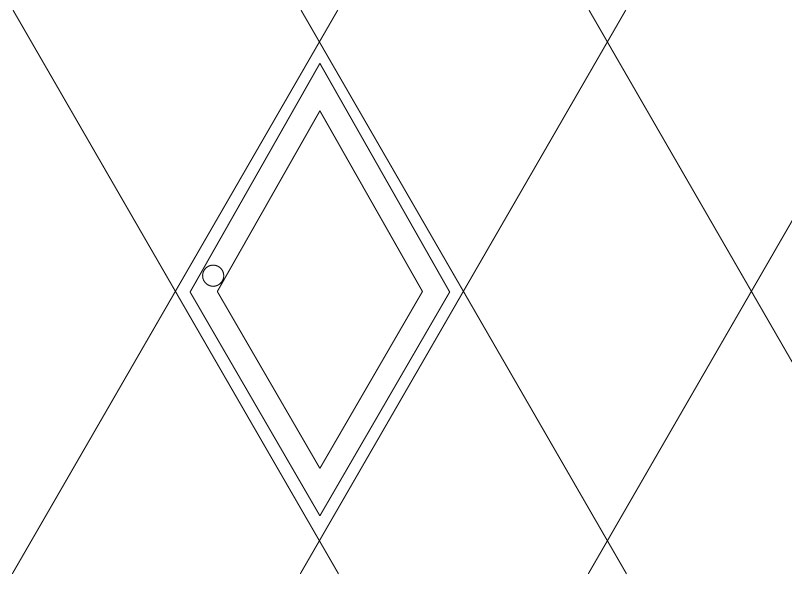
The first step is to mark your quilt area with diamonds. I have a 4" by 14" ruler with 30 degree and 60 degree markings, and use these to create 30 degree diamonds, 4 inches wide. Then stitch on these markings.
From here out I don't mark the rest of the lines. The first few times I did these diamonds I marked all the lines, but I'm super lazy, so now I just use the lines on my longarm ruler.
When measuring the lines from here out, I measure from the diamond line rather than the last line I stitched so that if one of my lines ends up a little weird, the rest of them aren't thrown off.
Next up I stitch 1/4" inside the diamond, then stitch a circle about 1/2" around.
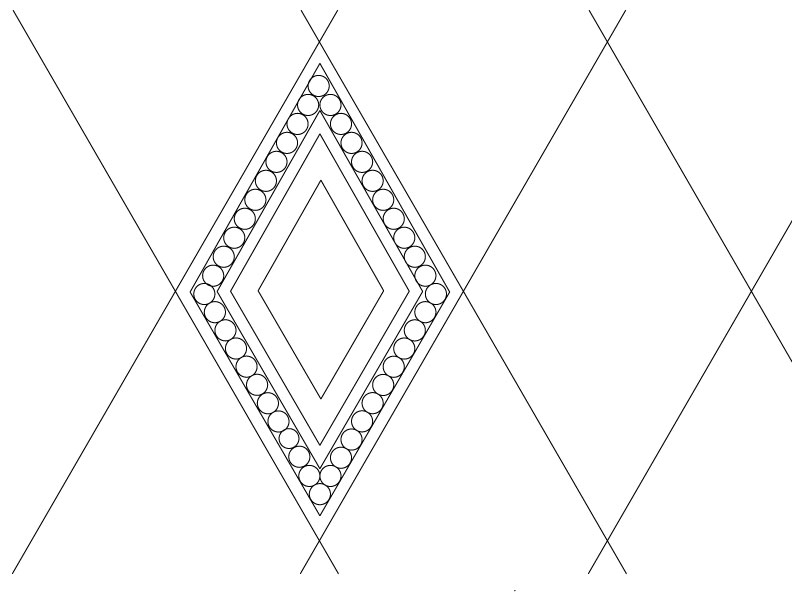
Next, I stitch 1/2" in from the last line, or 3/4" from the outer diamond.  Then go in and fill the rest of the circles.
Next up I stitch 1/4" in from the last line (1" from the outer diamond) and then 1/2" in from that line (1 1/2" from the outer diamond)
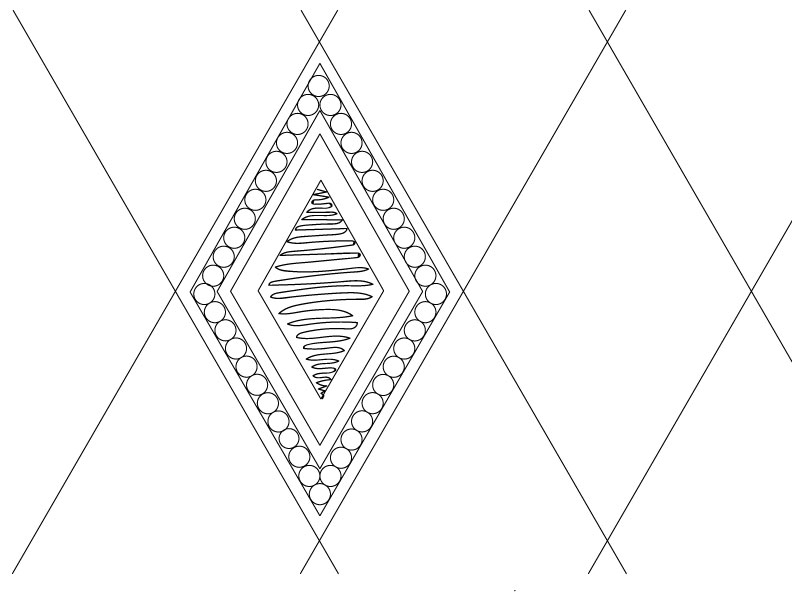
Then fill the center with a back and forth line.
 Then repeat in all the diamonds :D
Remember, if you have a quilt top you're stumped with, email a picture to kathleen(at)kathleenquilts.com and I'll have fun drawing all over it! Or, tag it on instagram with #freemotionfriday!
Later days! Kathleen.
