Free Motion Friday - Amanda's Quilt
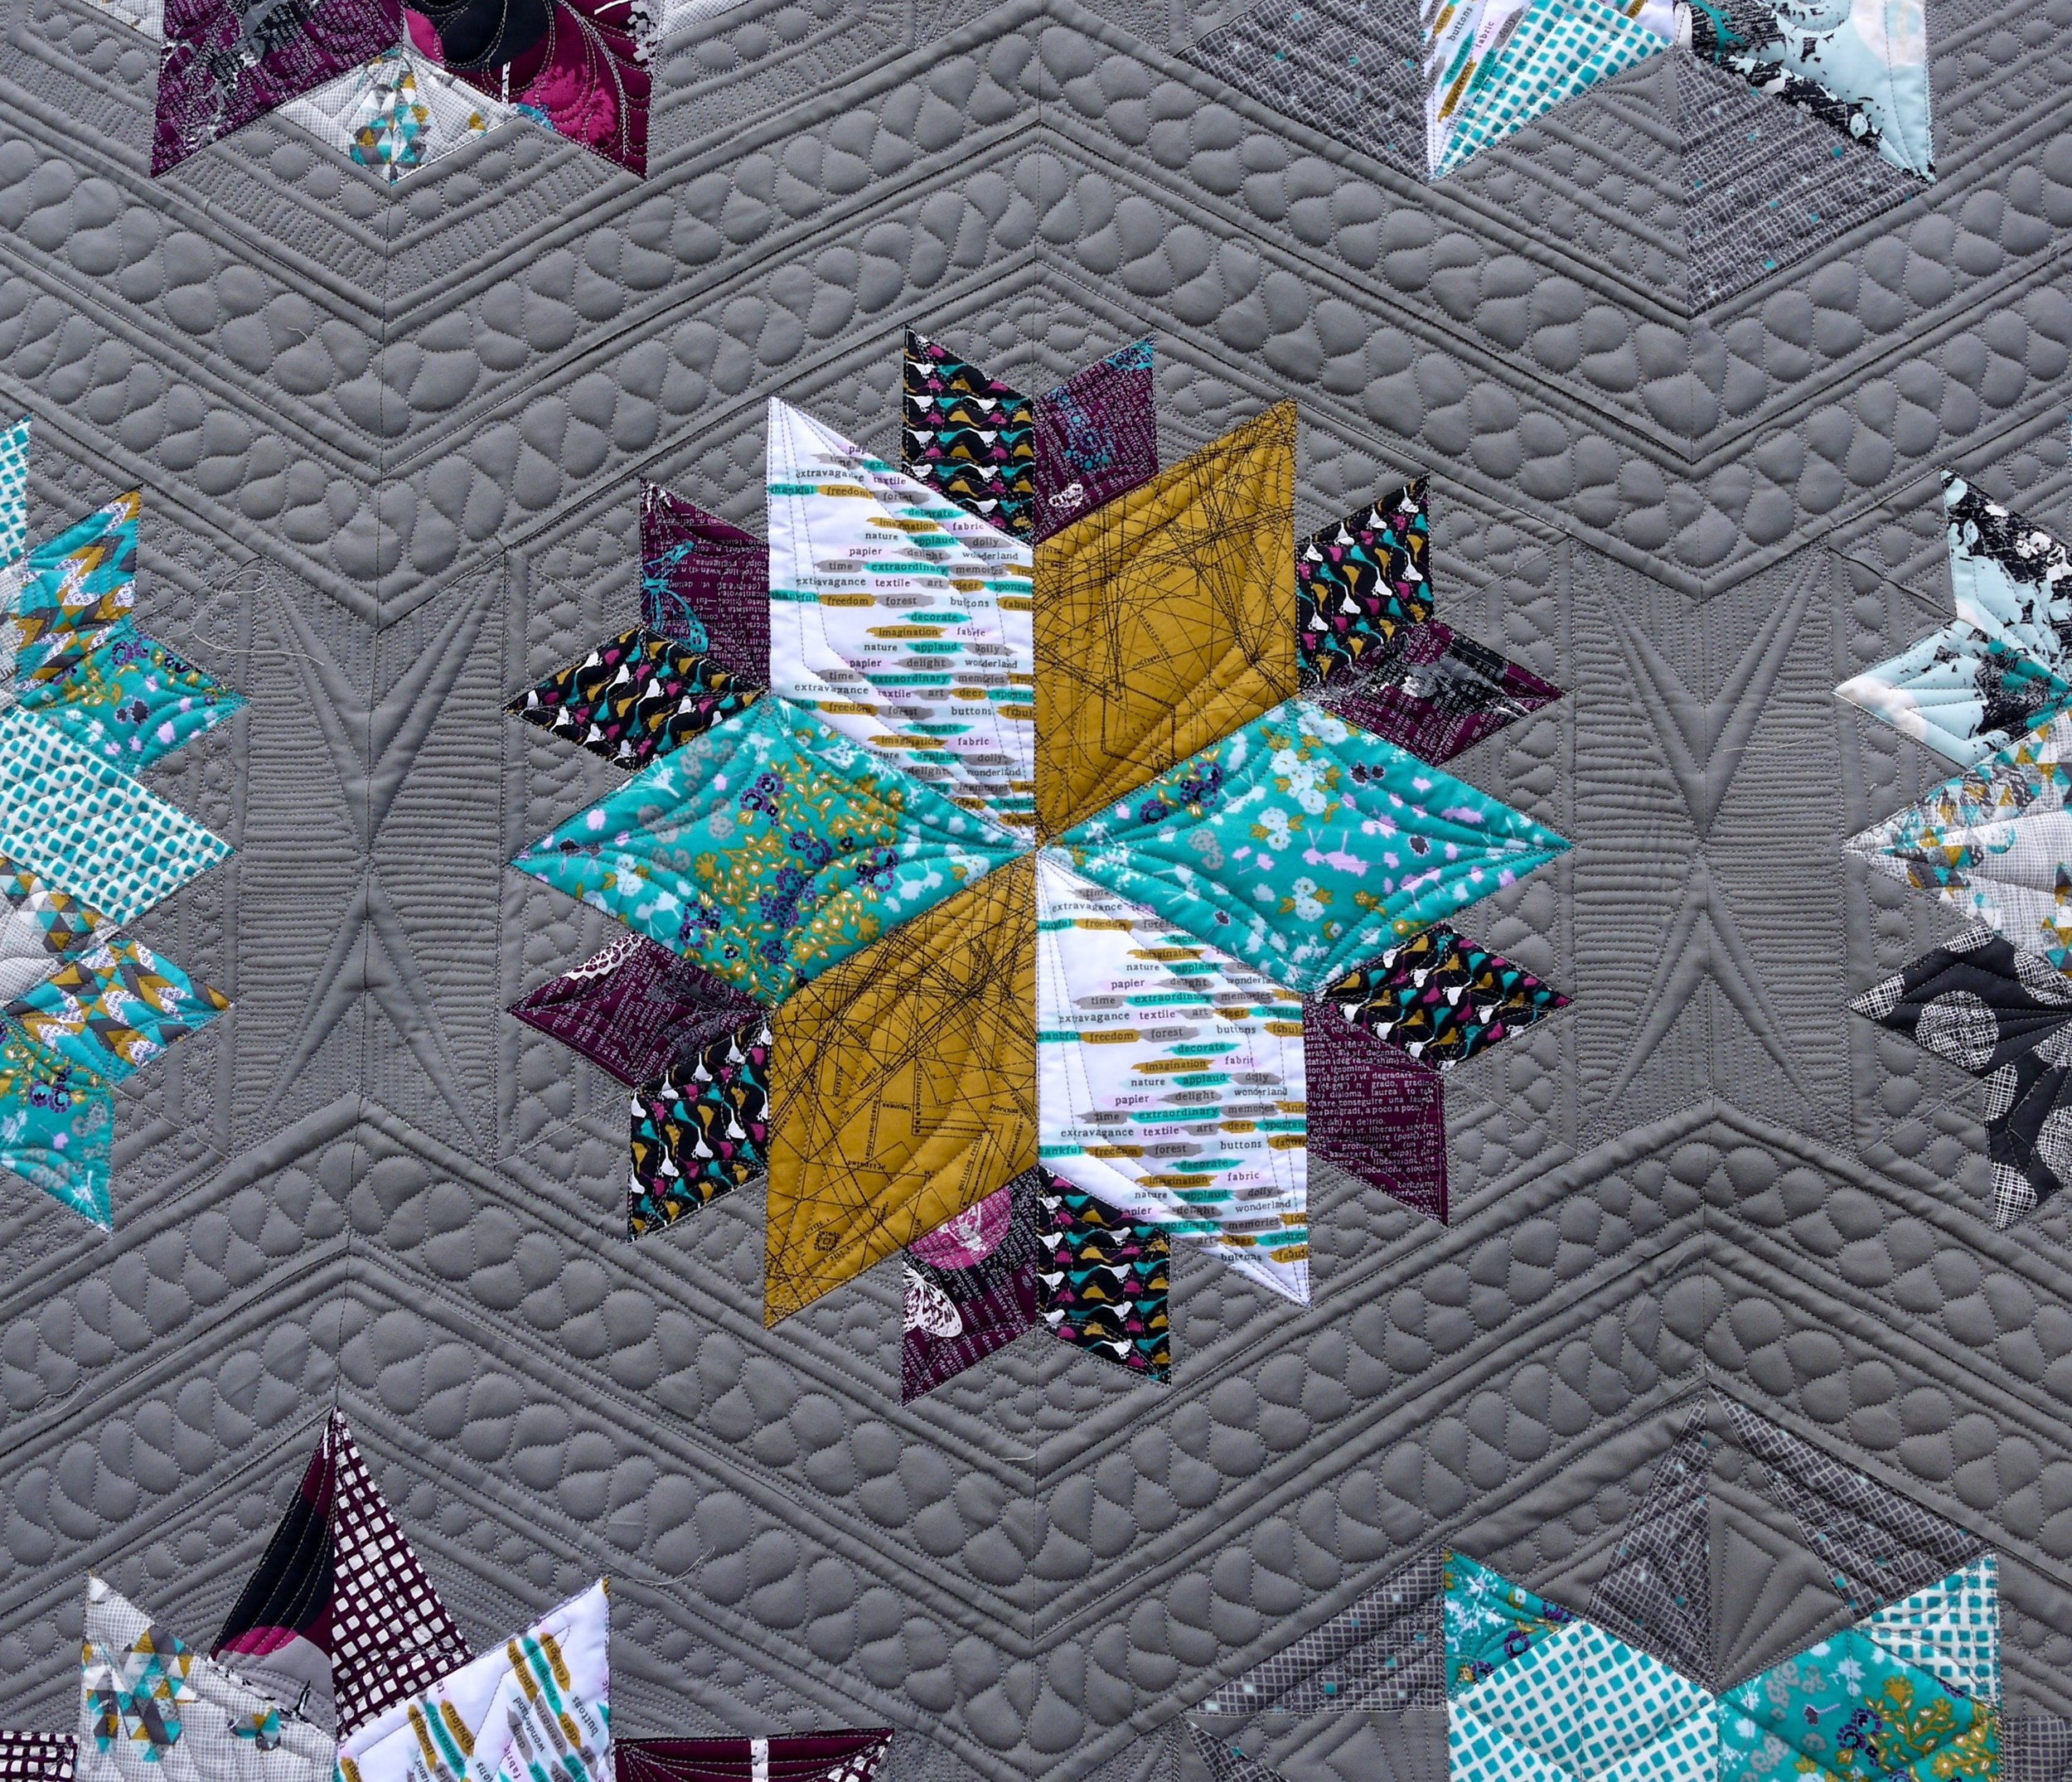
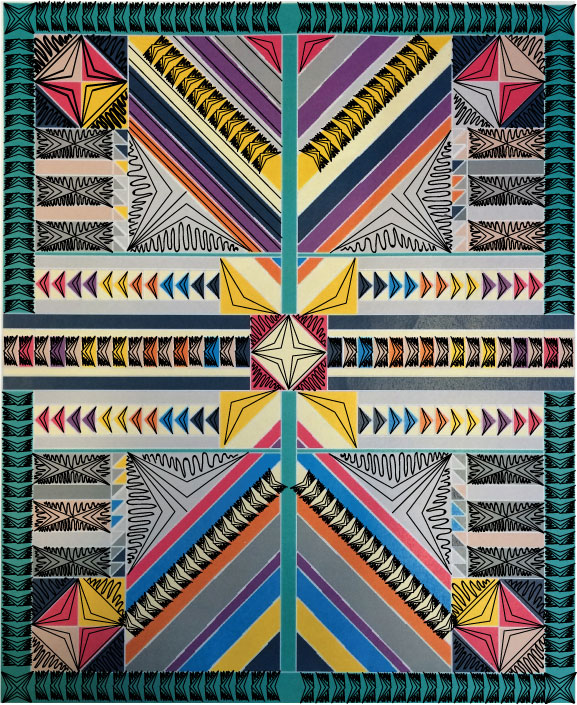
Amanda sent me this picture of her Timber Quilt:

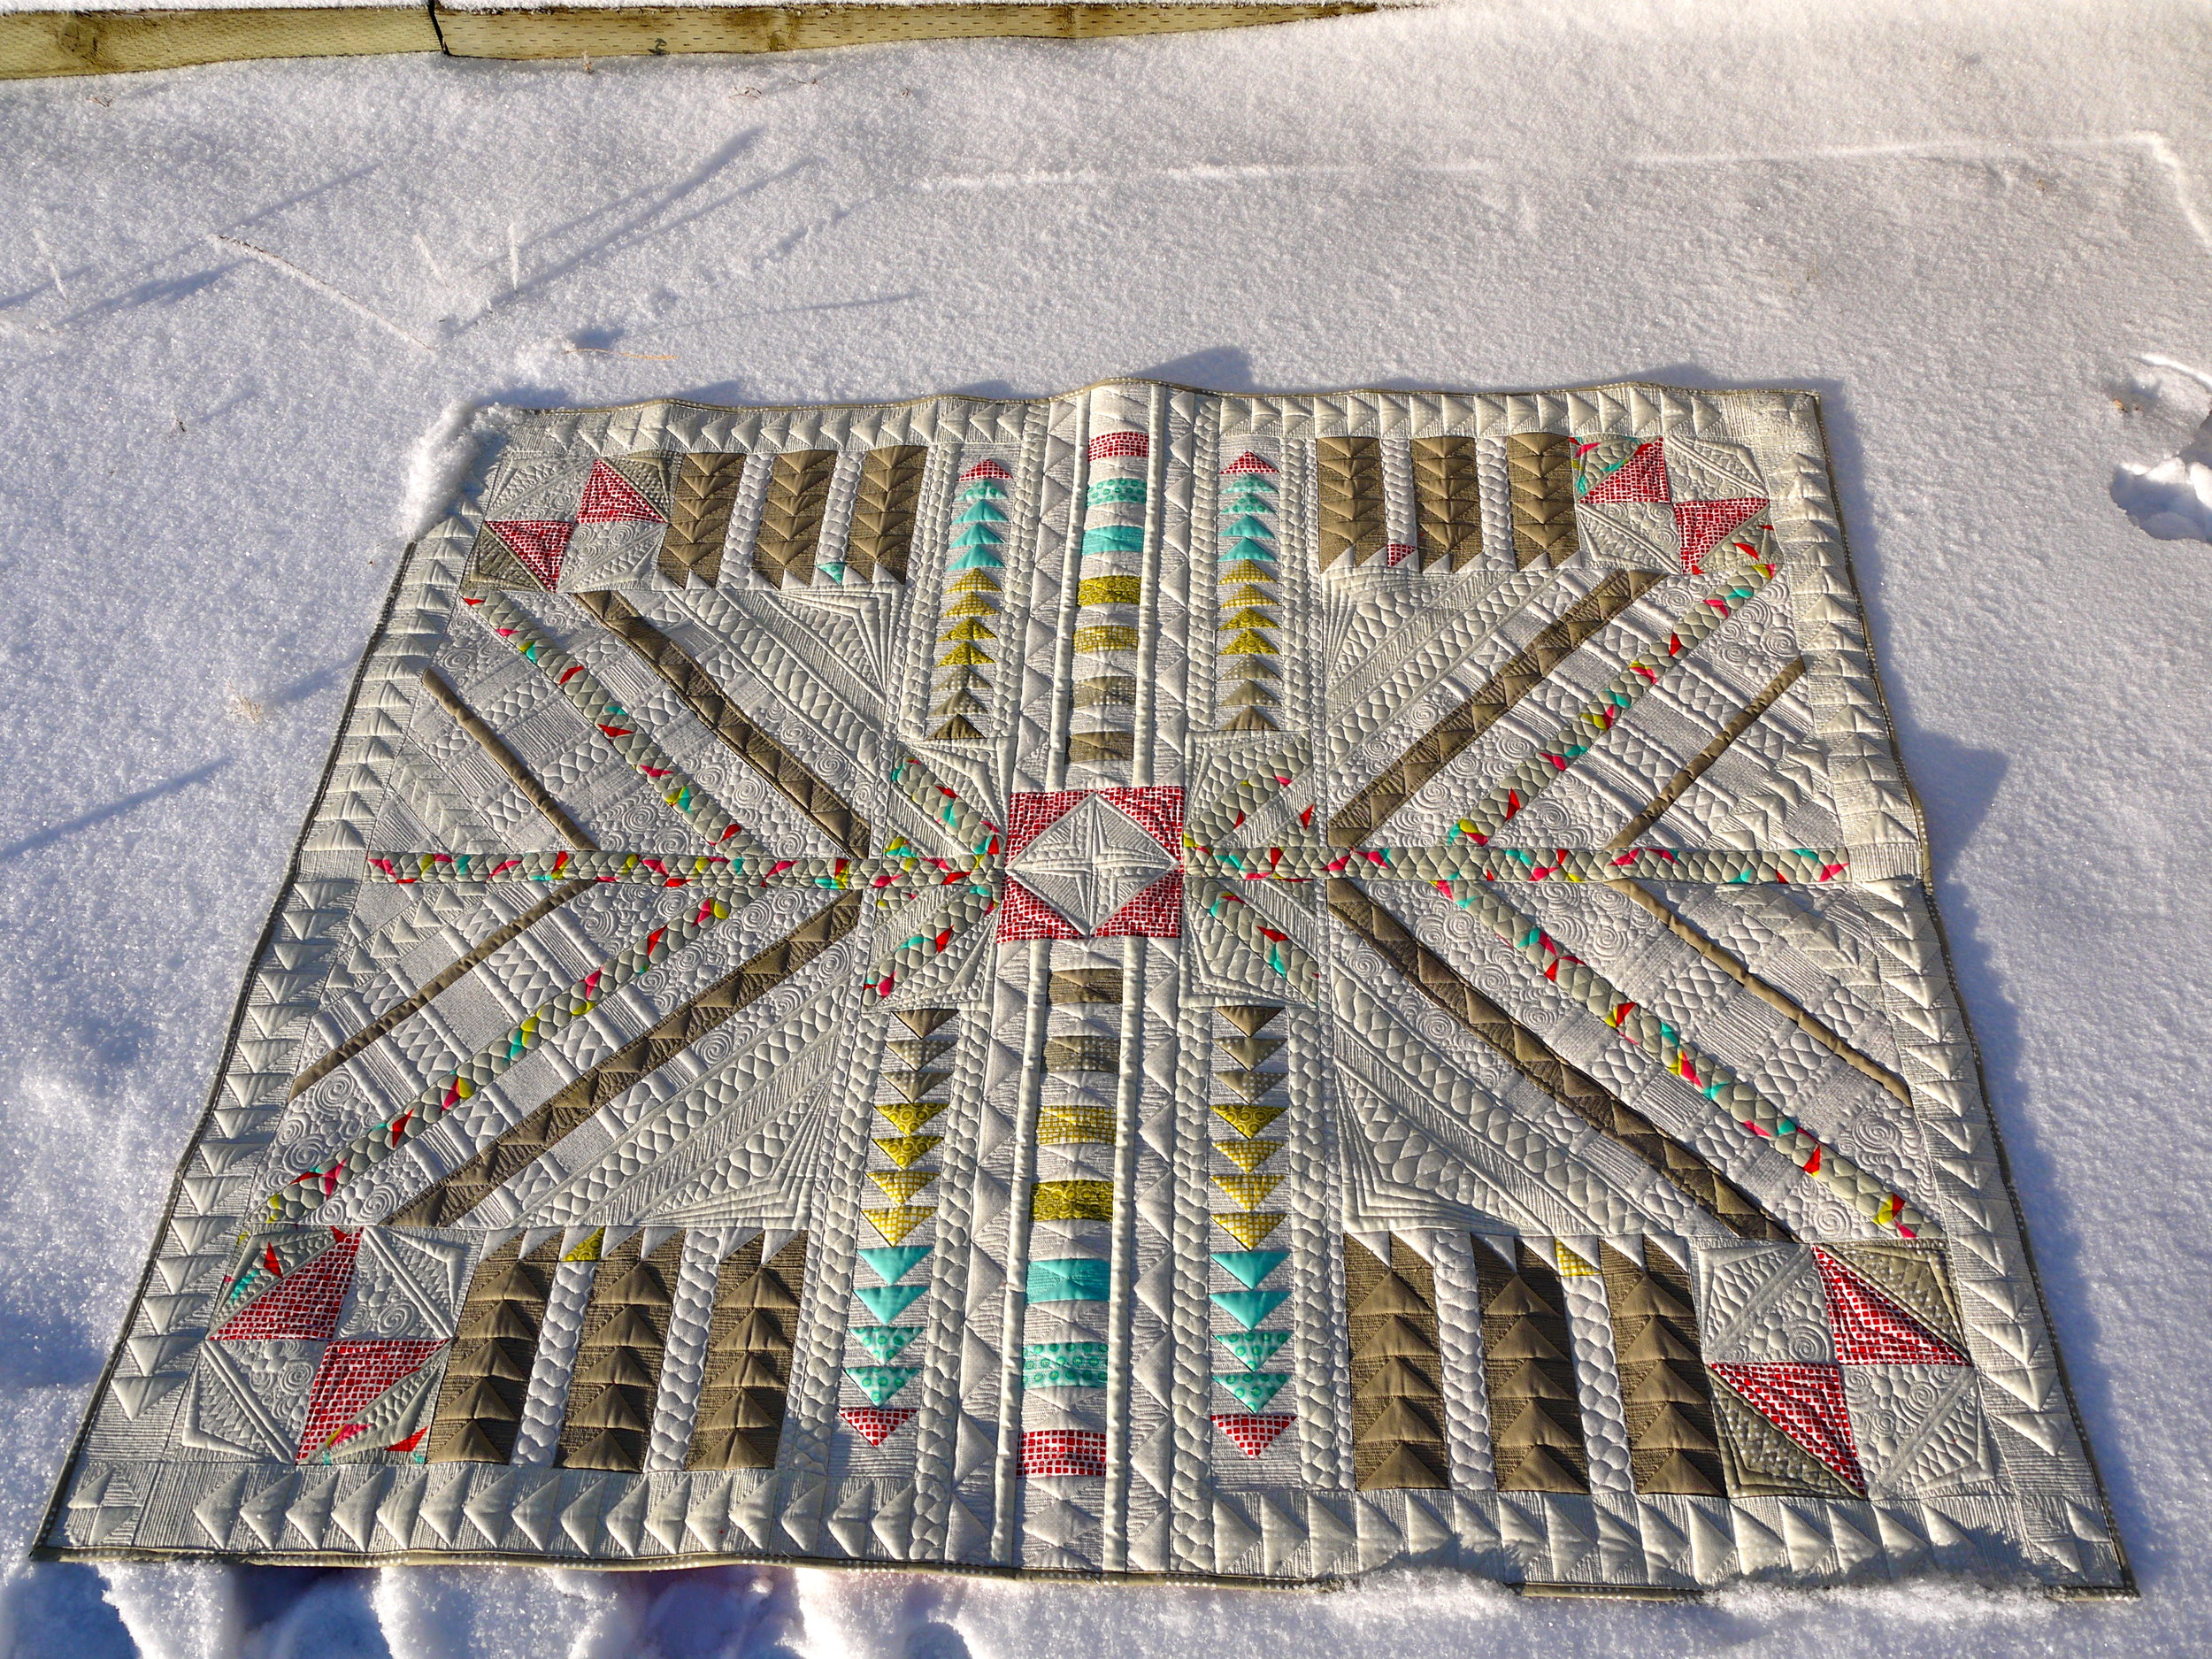
I love the Timber Quilt. Here's mine:
You can see more of it in THIS BLOG POST. I still love those flying geese, I'm telling you. Magic.
Just sayin'.
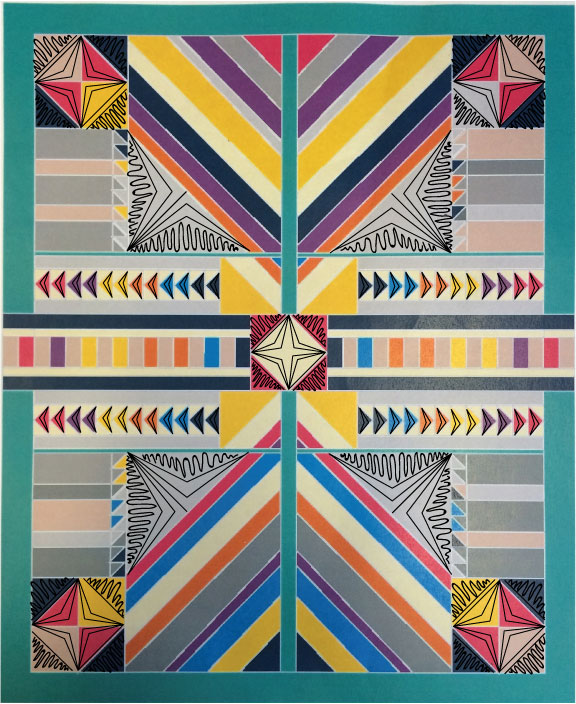
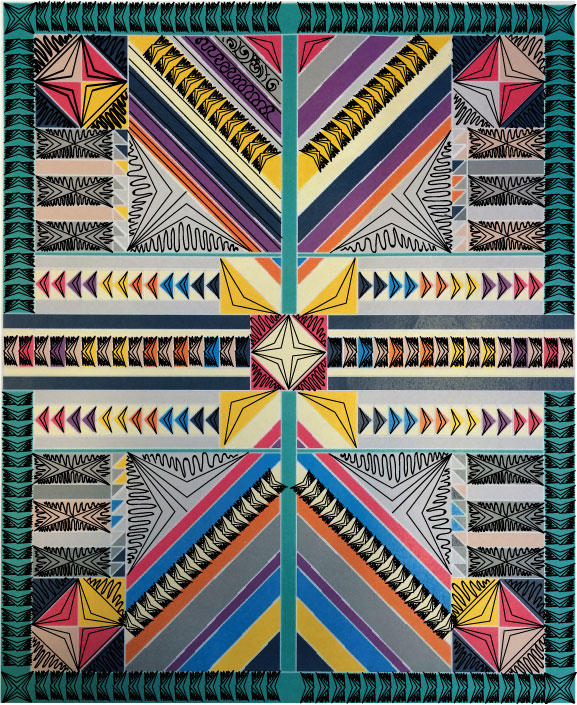
But on to Amanda's Timber Quilt. She sent me a digital picture of her colouring, so we're working off that since it's nice and straight (so you know, I can copy and paste. 'Cuz I'm lazy. )
So here we go!
 Starting with the corners -- I did first divided the squares without the HST's with a quilted line, then dome dot to dot in the center, cna a fill on the outside. Throughout the quilt I've drawn straight lines as my filler -- but as I've said before, straight lines can be SO BORING (though I still love them sometimes) but they are easy to draw -- so when you see straight lines, feel free to fill with your favourite (denser) filler.
I thin did the same design in the center block.
There is a bit of a theme going here... In the large triangles I fist split them in the center to create two triangles, then dot-to-dot & a fill. This is a place I very definitely wouldn't do straight lines, as in that large of a space I'd be so bored.
Then, in the flying geese, some more dot-to-dot (anyone seeing a pattern?)
I tried to hold out for as long as I could without putting ghost flying geese in :D but this is where I caved. In the squares I quilted flying geese from THIS tutorial. Only rather than leaving the geese empty, I did fill them with some dot-to-dot.
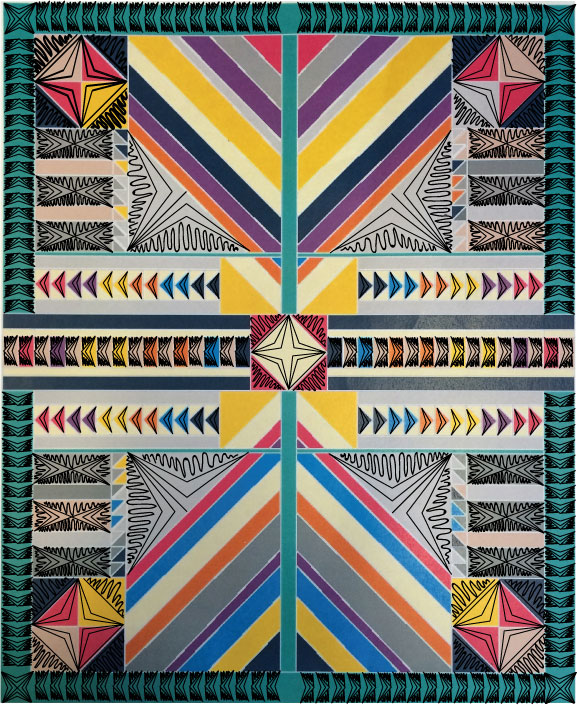
And then, once I had started, there was no stopping me. Flying geese in the borders, again, with the dot-to-dot quilting in the geese. They were just so awesome on mine, I couldn't think of anything better :D
I divided the border corners by quilting an "X" in them, then filling the triangles I created with dot-to-dot.
Then, in the side squares, again I divided them by quilting and "X", only this time I only did the dot-to-dot on the left and right triangles, filling the top and bottom ones.
After I drew it out, I realized, hey wait, I've quilted this before...
In my Indelible Park Bench Quilt.
Then, since I was on a roll with those triangles, I stuck some of them in the center too. Not in the same rows though, I thought I'd switch it up. Check me out being un-symmetrical.
In the rest of the strips -- the center diagonal ones, the center vertical, and the side horizontal ones -- I'd start by echoing in about 1/4 of an inch from the seam to add some separation (only shown here on the top left).
Then, I'd fill them with various (or maybe all the same, depending on my mood) fillers.
So that's it for this quilt!
I want to say a quick THANK YOU to everyone who has sent me quilts... I haven't replied to... well, anyone, but I still love you! If you want to be a part of Free Motion Friday (and you know you do!) email a picture of your quilt to kathleen(at)kathleenquilts.com or, like Amanda, tag your quilt in instagram with #freemotion friday and @kathleenquilts.
Later days! Kathleen.
