Free Motion Friday - Katy's Quilt
 Today, I have Katy's quilt!
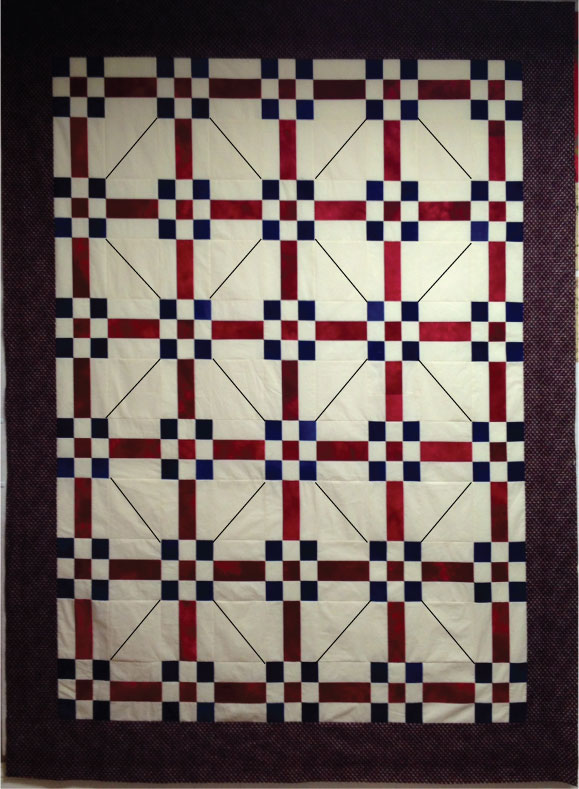
I just finished piecing this Quilt of Valor and I would love to know how you would quilt it! Thanks!
And I had fun with this one, I'm telling you.
I started by putting and X into the center of each block... but then decided I didn't like this so much, so took out some of these lines..
So I took out some so it looked like this. These are nice easy lines, just going from the corner of each nine patch to the next.
I then added more lines to create a triple line.
As I was drawing this out Rocky was watching over my shoulder. Someone came into the store, and Rocky finished drawing these lines and I helped the customer and then went and got some groceries. When I got back the quilt looked like this.
Which I thought was super awesome. And I would have never thought of that. That boy, I'm telling you.
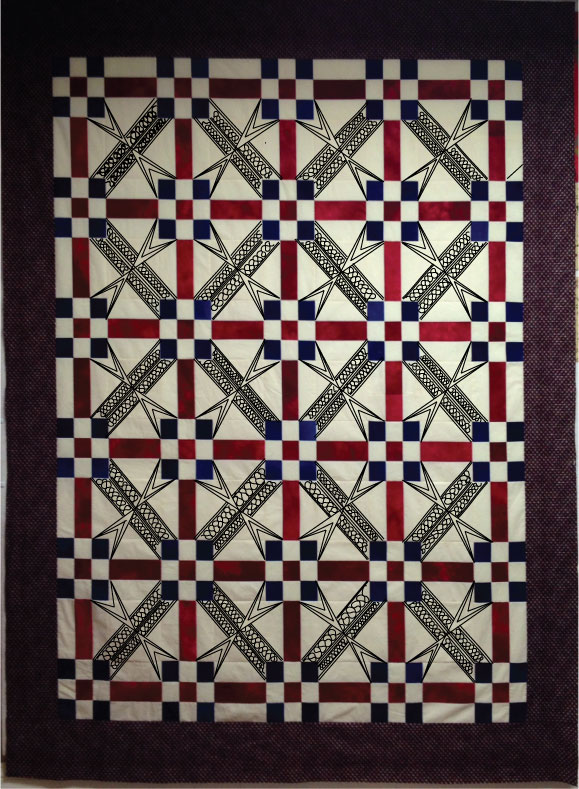
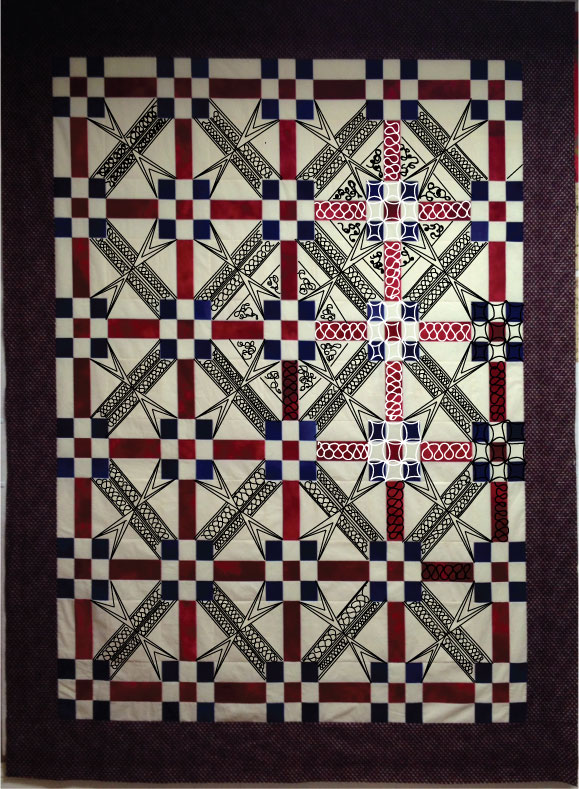
I tried to get him to keep going from there, but he wasn't into it once I got back. Anyways, I went in and took out the straight lines from behind the crossed lines, then added some dot to dot in the points. Which means, if I was quilting this design, I would first stitch the first diagonal lines from the second picture, then do the crossing lines that Rocky added in, then the 2nd and 3rd row of straight lines from picture three, and then the dot to dot quilting in the points.
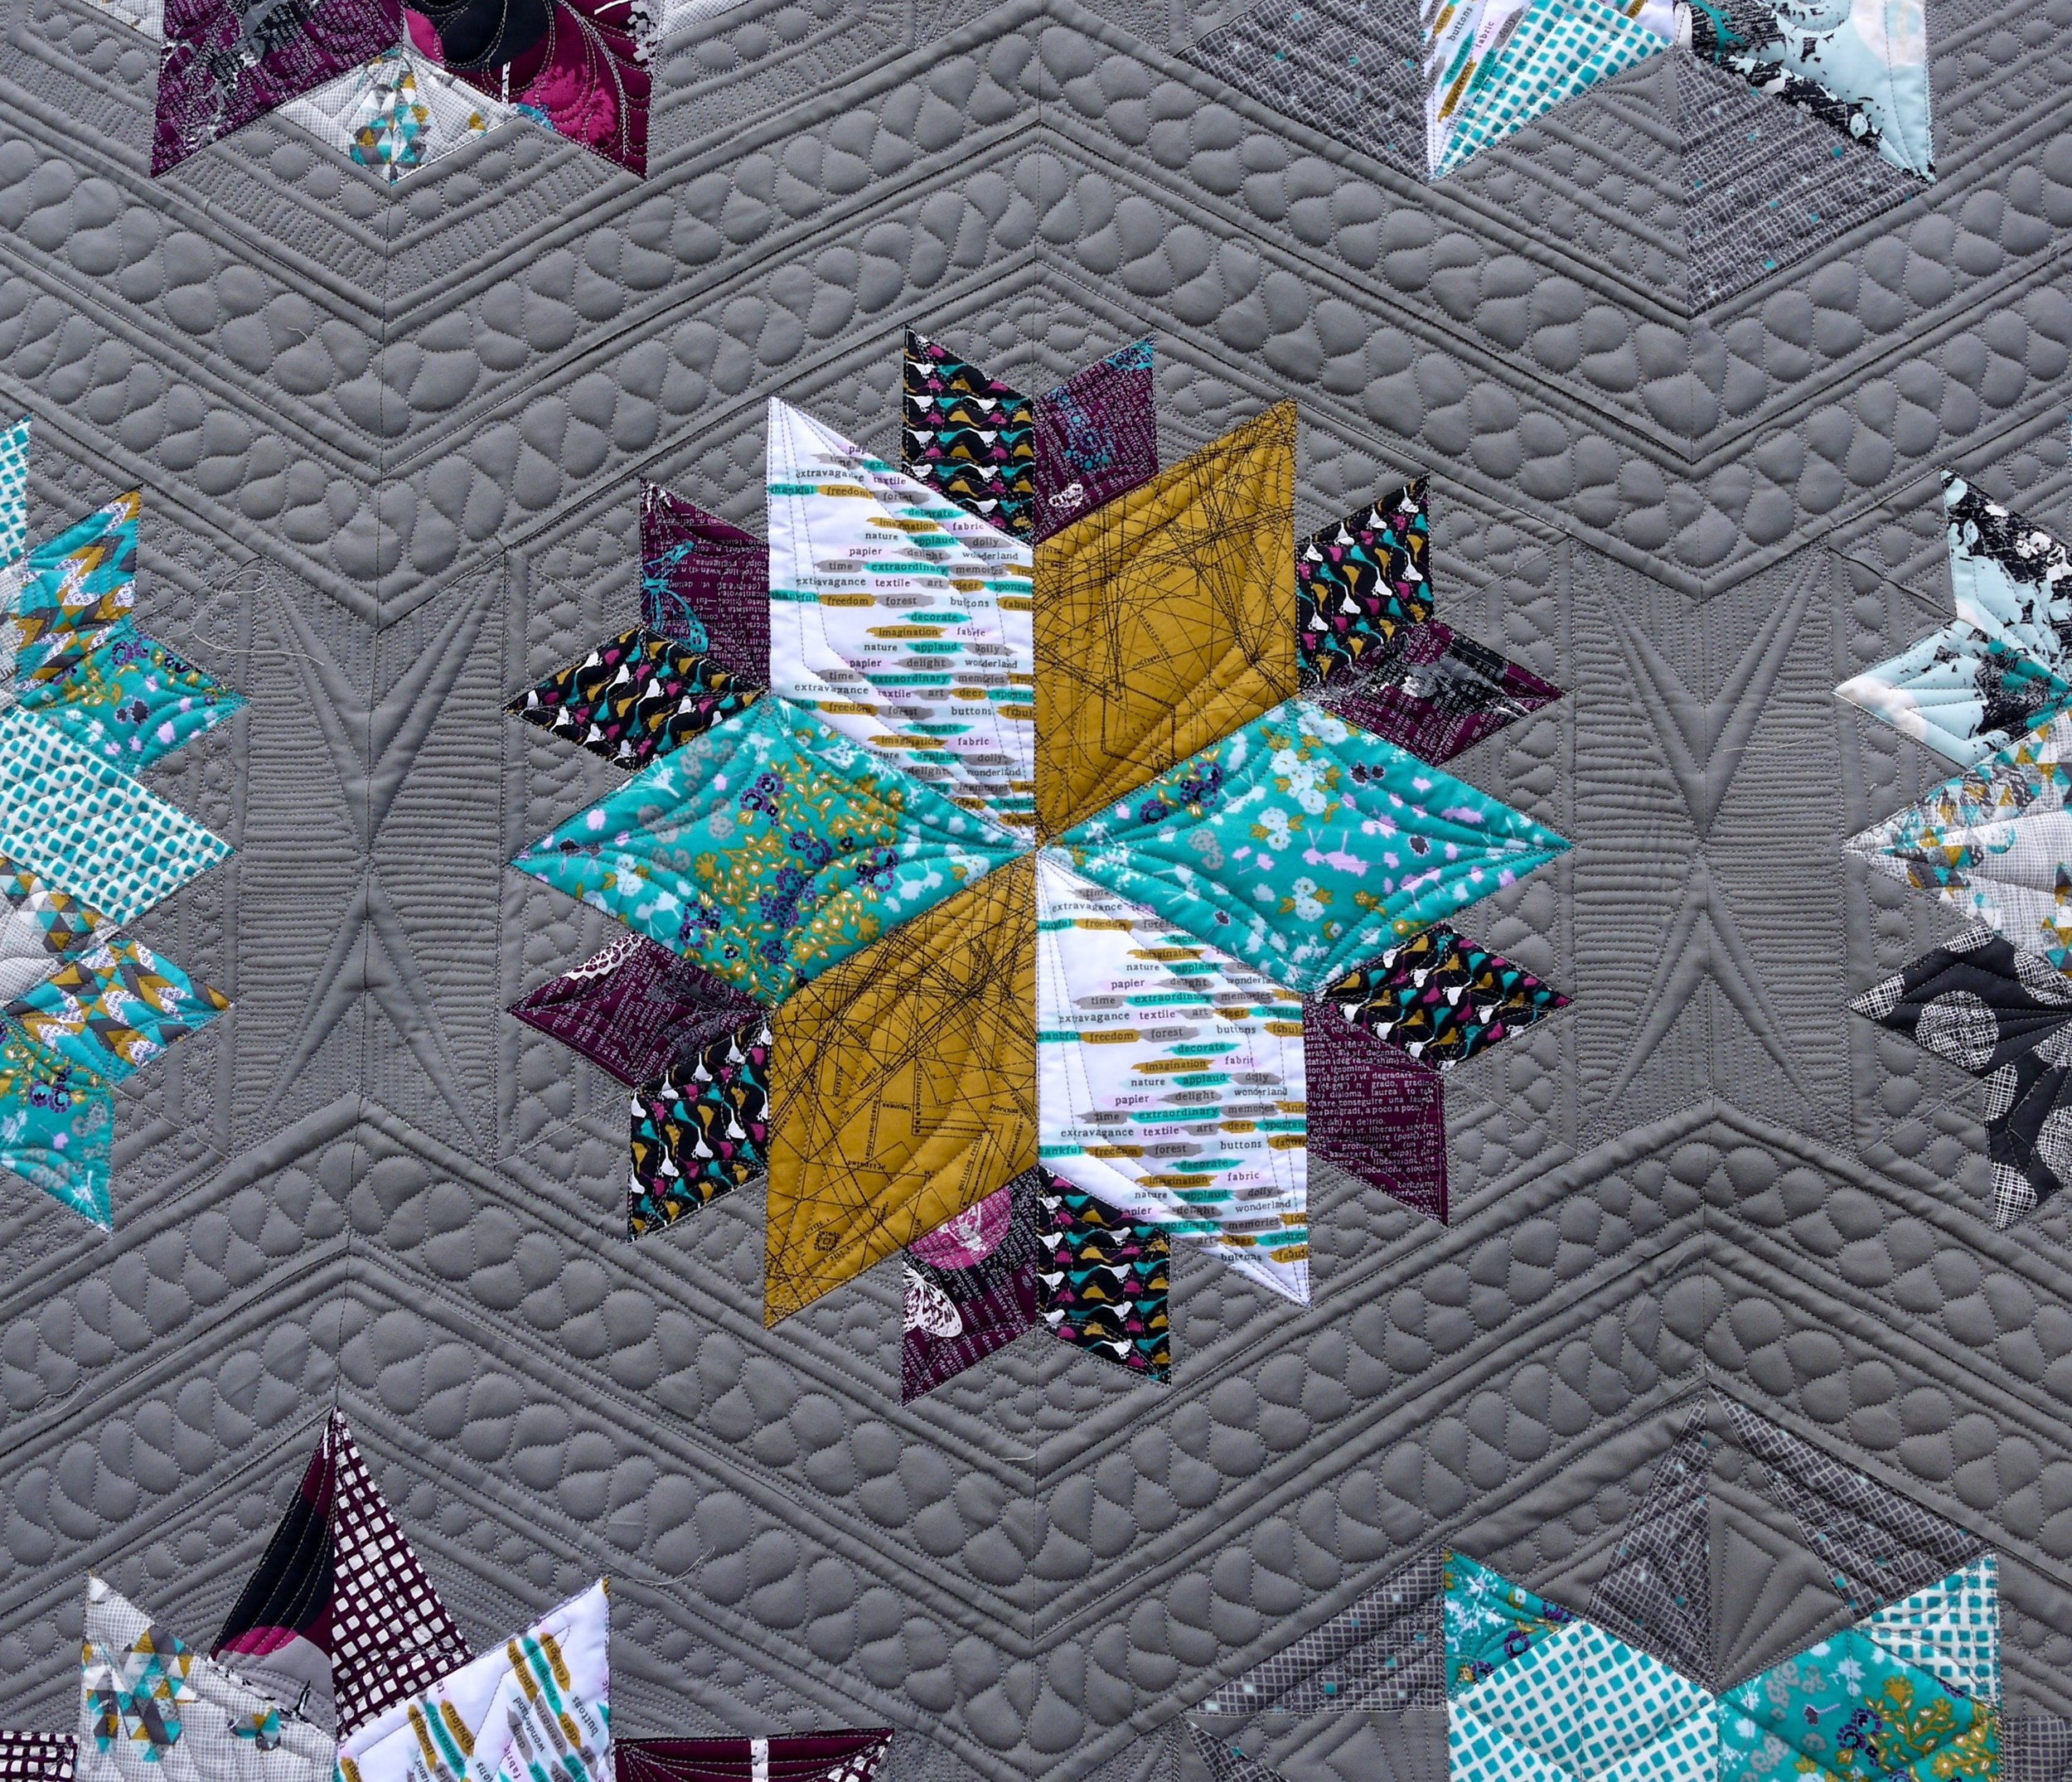
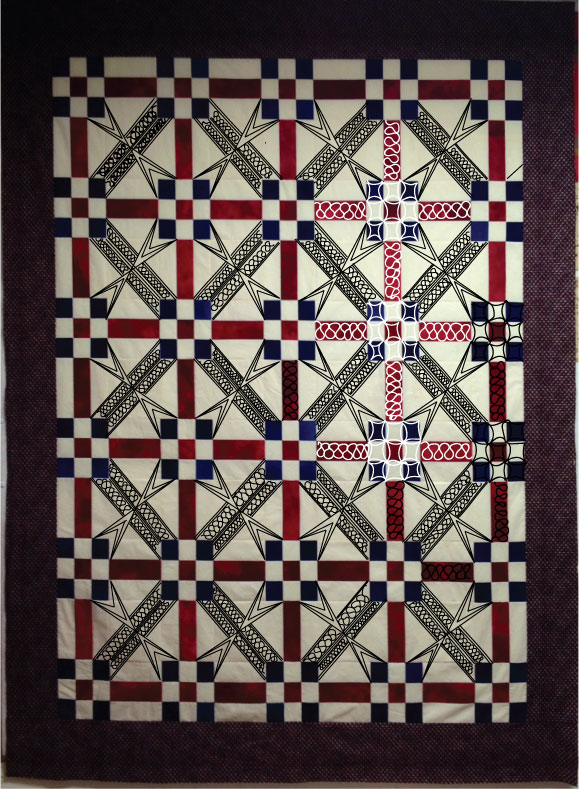
Next up, I echoed inside of each of the straight lines, and then did a ribbon candy design through the lines. This is very similar to how I did a section of my Indelible Park Bench quilt.
Next, (and at this point I gave up on drawing over the whole quilt and just worked on one section), I did some ribbon candy in the red sashing, and continuous curves in the nine patch. I explained how to do a continuous curve in my Scrappy Trip Around the World post here.
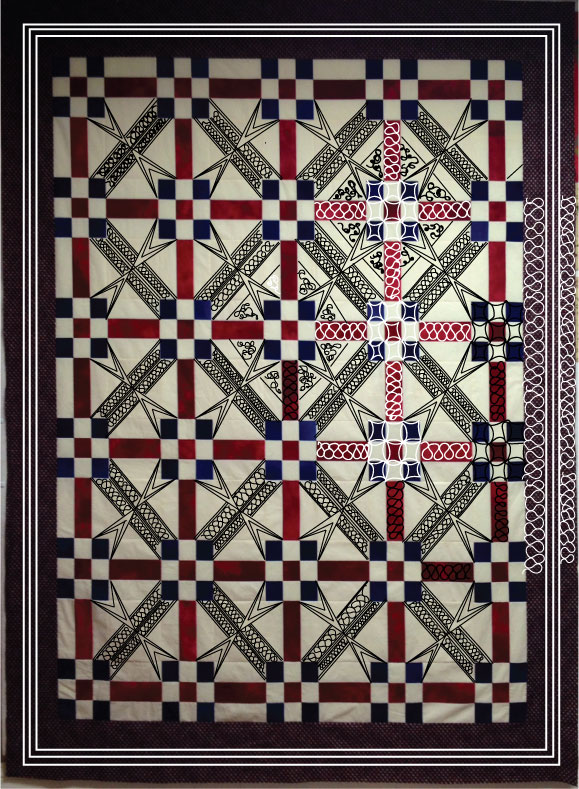
Next, I added one more straight line in my blocks, a about 1" from my ribbon candy lines, and then filled the center with whatever fill is your favourite to do.
In the border I echoed what I had done with the ribbon candy in the quilt center.
And so that's Katy's quilt! You can see how she started quilting it in her post here.
If you want to send me pictures of your quilt tops (and please do! I love it, and have so much fun!) email your pictures to kathleen(at)kathleenquilts.com
Later days! Kathleen.
