Free Motion Friday - Rose Star
I had SOO much fun quilting Claire's quilt over the past couple weeks, that I thought I'd share how I quilted the stars themselves. Because I was pretty proud of myself.

I've been into making piecing look more complex by having denser and lighter quilted portions in geometric shapes. Also, after all those diamonds, I really wanted something continuous.
 So here is the rose star. The first note is that the rose star in english paper pieced -- which means that the seams are all pressed open. And while there is some debate, open seams=no stitching in the ditch. There is fear that the ditch stitching will break the thread and make a hole. Though, I will say that as a sewing machine dealer, we always tell people that if you have a sharp needle your needle will not break threads in your fabric, but rather go between them. Dull needles make holes in your fabric, but not sharp ones. So why this is different with stitching in the ditch, I do not know, but I wasn't willing to risk it. So, rather than stitch IN the ditch, I stitched just out of the ditch on both sides of the ditch. Basically, a double stitch in the not-quite-ditch.
But on the the fun quilting.
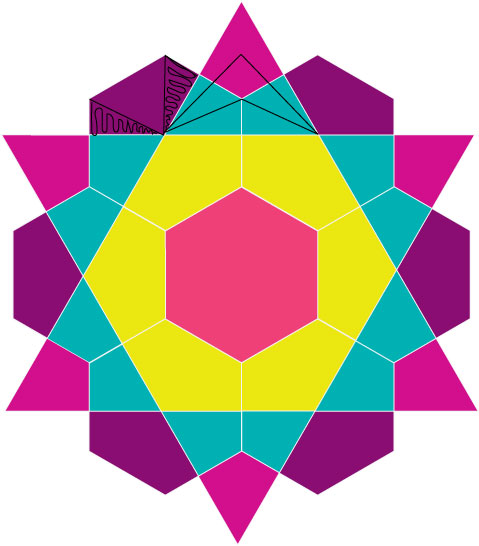
First, creating a triangle
Then filling in the sides with a back-and-forth design.
Then dot-to-dot
Filled in with loops.
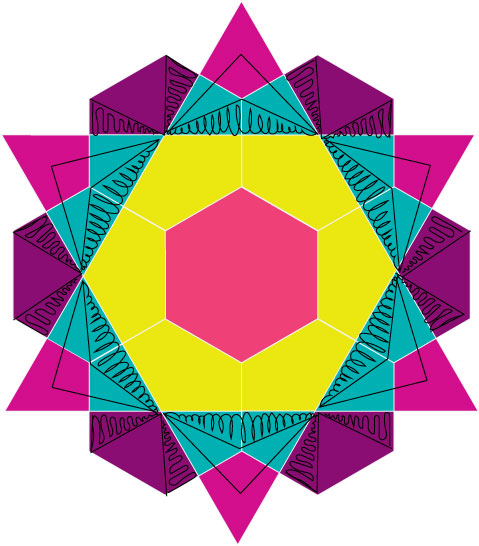 Continued all the way around the star. Because it's continuous. Genious, I'm telling you.
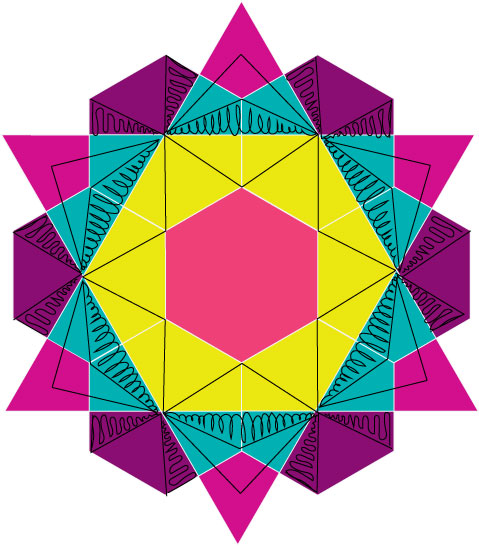
Creating a star in the hexagon by going from corner to corner
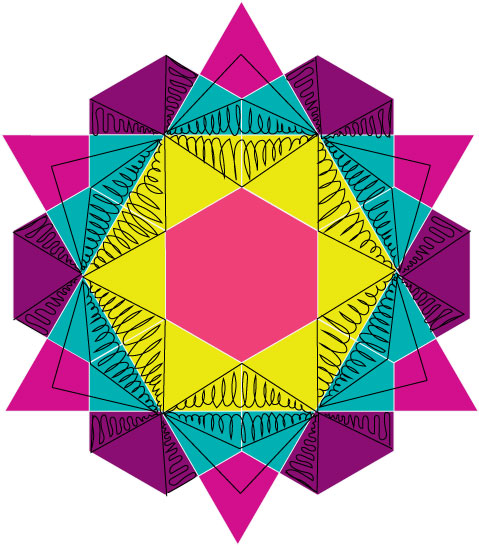 And then filling with some more loops
So that's it for me! Remember, if you want your quilt to be part of Free Motion Friday (or you want me to quilt it for you), email a picture to kathleen(at)kathleenquilts.com!
Later days,
Kathleen.
